
In preparation for the 12th Sketchcrawl which takes place on December 9, I have made this pocket size pallet. There are many takes on how to make this pallet. Please see here and here. Mine is a bit more elaborate, but I injoyed doing it and want to share the method with my readers:
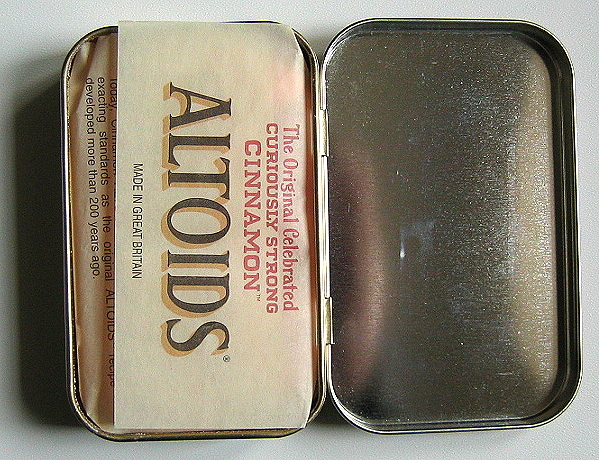
You will need an Altoid box or a similar box with an attached lid. Empty the box from the mints (don't eat them all you will get sick!) and clean it well.
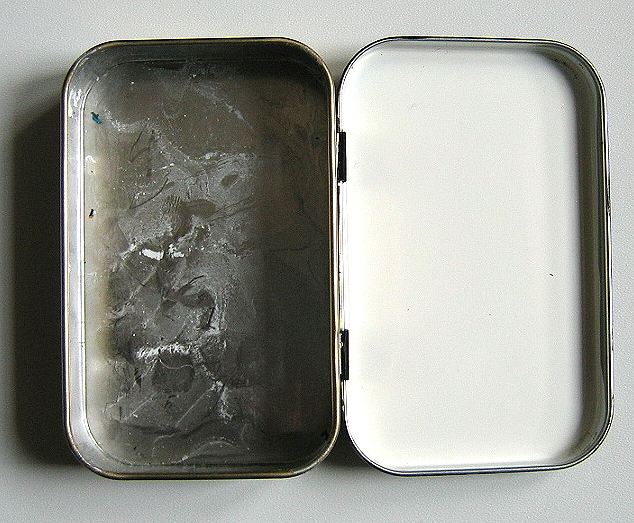
 The first thing I did to my empty Altoid box was to paint the inner lid enamel white and the outer lid enamel black. The inner lid white enamel color was for a functional purpose. It will serve as a good mixing ground. The outer lid enamel color was for fun and to imitate my favorate Winsor and Newton box. These enamel paints take some time to dry so count on leaving each coat a full 2 days to rest and harden.
Measure the inside of the box carefully and cut a piece of the tile to fit in the box. These tiles are made of a soft material that you can cut with scissors easily.
Now cut two lengths of the shelf edging that are a tad bit shorter than the box length. These shelf edgings are plastic and you will need a sharp knife to score them and then bend them to cut. Believe it or not, I suspect that the 3/4 size shelf edging was made to hold full and half pans in place. They are the perfect fit!
Now drill or punch tiny holes in the edging and the tile piece together. You will be threading the staples through these holes and folding them on the back of the tile to hold the edging in place. You can't use a staple gun for this. There isn't one strong enough to go through the plastic of the edging and the tile. Once you have the holes done, thread the staples in and tighten from the back to hold the edging snugly in place on the tile piece. No, glue will not do. You need the strength of the staples to allow for some movement without getting the edging dislodged.
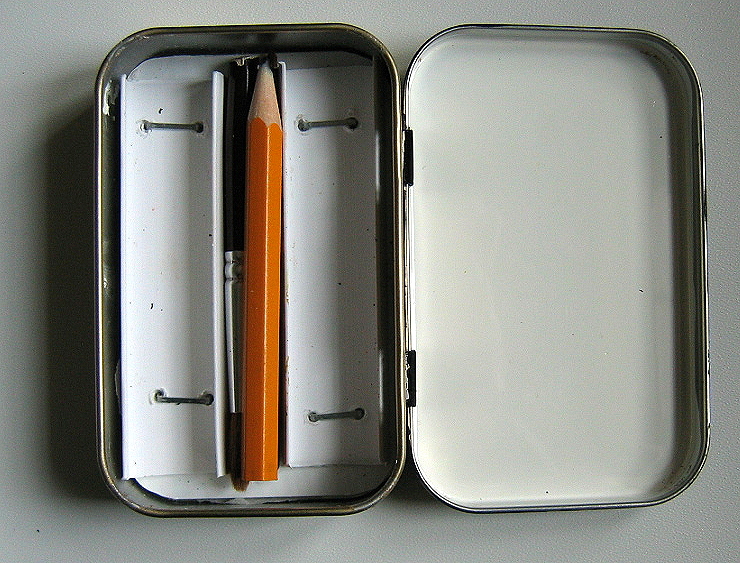
 Now place the tile piece with the edging on it in the Altoid box and put your pans or half pans in the edging. Like I said, it holds the pans and half pans very well. You can place up to Ten half pans in the box this way. You will also have room in the middle for shortened brushes and a golf pencil. The edging allows you to replace the half pans very easily depending on your mood or the destination. I hope you enjoy making this project.
 If you have any questions post them here, I will try to help.
Update:
Since I posted this Altoids box "how to", I have added a flat plastic mixing tray to the box. I have also worked on a smaller version of the Altoids box here.
Since I posted this Altoids box "how to", I have added a flat plastic mixing tray to the box. I have also worked on a smaller version of the Altoids box here.